|
I've been asked several times about where I get my tesserae or tiles. I purchase roughly 1 foot squares of stained glass and cut the tesserae myself. I do this for several reasons. First, I like stained glass. I like glass period. One day I want to learn how to blow glass but that costs money for classes. I would absolutely love to create Roman replica blown glass pieces, but that's for another time, if ever. Second, I know that some of the mosaics in Herculaneum were made with glass. If they could do it, why not me? Third, I want to make small mosaics with small tesserae. I suppose I could have done small with other mediums, even Smalti glass, but I wanted to make whatever size tesserae I needed. Fourth, I have this idea, which admittedly is just an idea, that I can make the stained glass go further than the same dollar amount of other materials. I could be wrong. What do I know. Most of the glass which I have purchased has run between $10-15 per square feet, so to have a variety of colors is not cheap. I'm still thinking a square foot of Smalti glass would cost significantly more. I purchased most of my glass and tools at the beginning of the summer with retirement gift cards. I now have most every color I think I may need and I keep the glass stored vertically between newspaper, which makes it easier to flip through the colors when I'm looking for something. 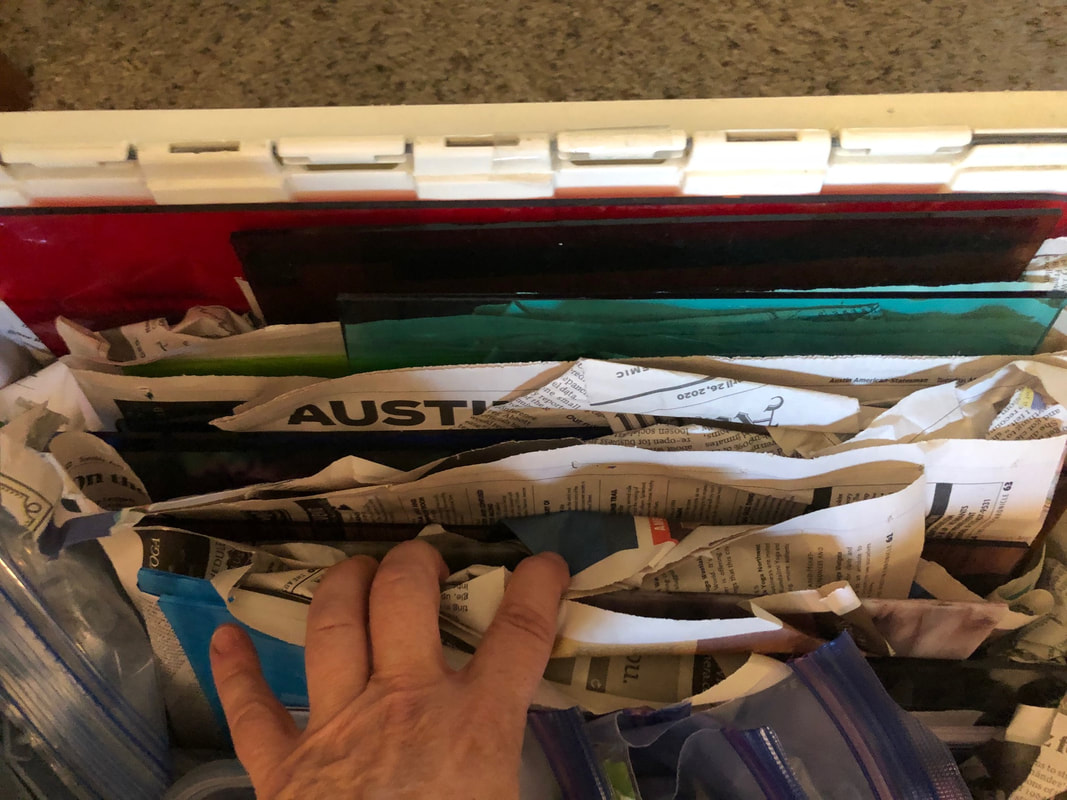 My white storage box filled with all the colors of glass which I have purchased this summer. The tools I use include
So, again, this second video is much like the first except I explain what I am doing and you can see all the tools. In this third video, you can see how I cut the glass into the smaller pieces. For the record, I am NOT squeezing the tool with my left hand. I am merely preventing the glass from shooting across the room. All of the hard work of squeezing the nippers is being done with my right hand, which is getting really strong! As the video explained, I like to start with strips that are a centimeter wide, and then I snip them into roughly centimeter squares. I can easily make my tiny square tesserae from these, or cut the glass into little rectangles or triangles or whatever shape I need in between.  Cut glass displayed on mirrors plus the larger blue glass I was beginning to cut down to smaller sizes. If you were thinking that this is tedious, it can be. Usually I do it while listening to something. I may have the TV on to binge watch/listen to some old favorite series. Cutting tesserae is also good for listening to audio books. I find it soothing, admittedly, and in the end I have these little piles of gems. (And I am not snacking on food because my hands are busy.) 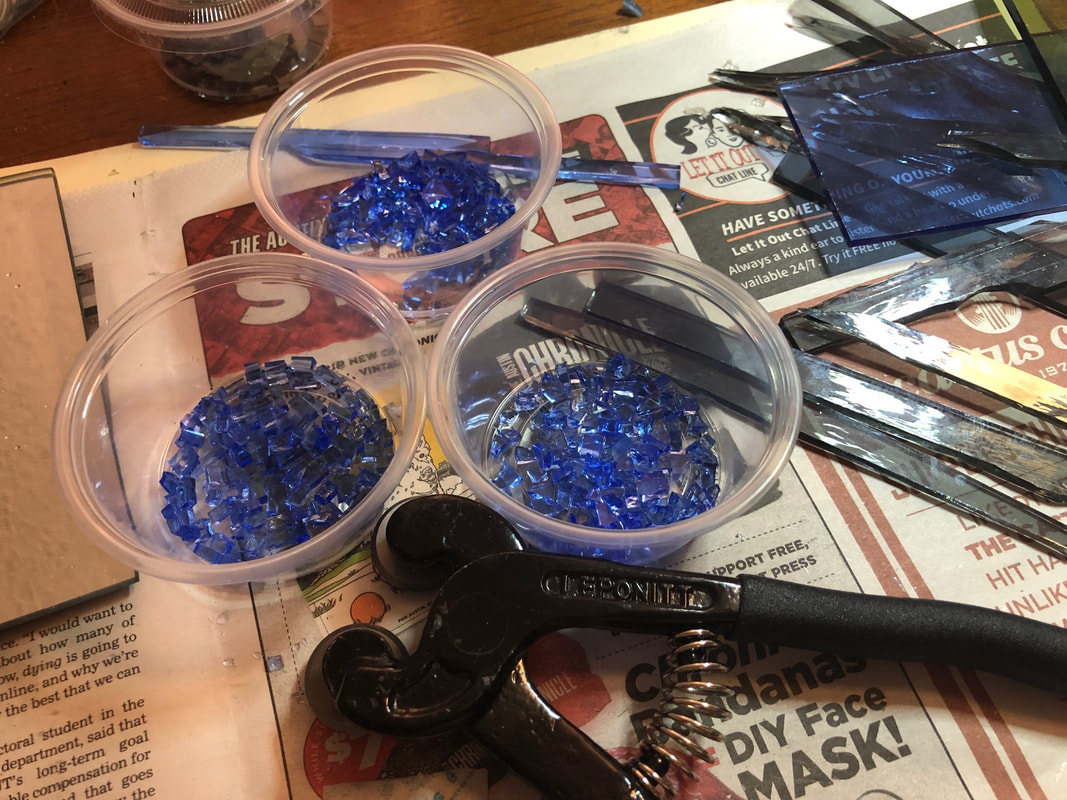 Blue tesserae sorted by shape. I've learned to keep them sorted by shape: little skinny rectangles, sharp triangles of all shapes, and four sided polygon shapes that help with curves. Makes it easier to find the shape that I need next, whatever shape that may be. I had to cut up some more glass yesterday because I had run out of some of the shapes I needed. Doing the water background for the heron has been an interesting learning process. From this angle you can't really see the wave patterns in the green (more on right) and grey (more on left), though you can with the blue and yellow. I'm now shifting up to the area which will have more blue than green & grey. The patterns hopefully will stand out more when this is grouted. I think the show better in sunlight anyway. 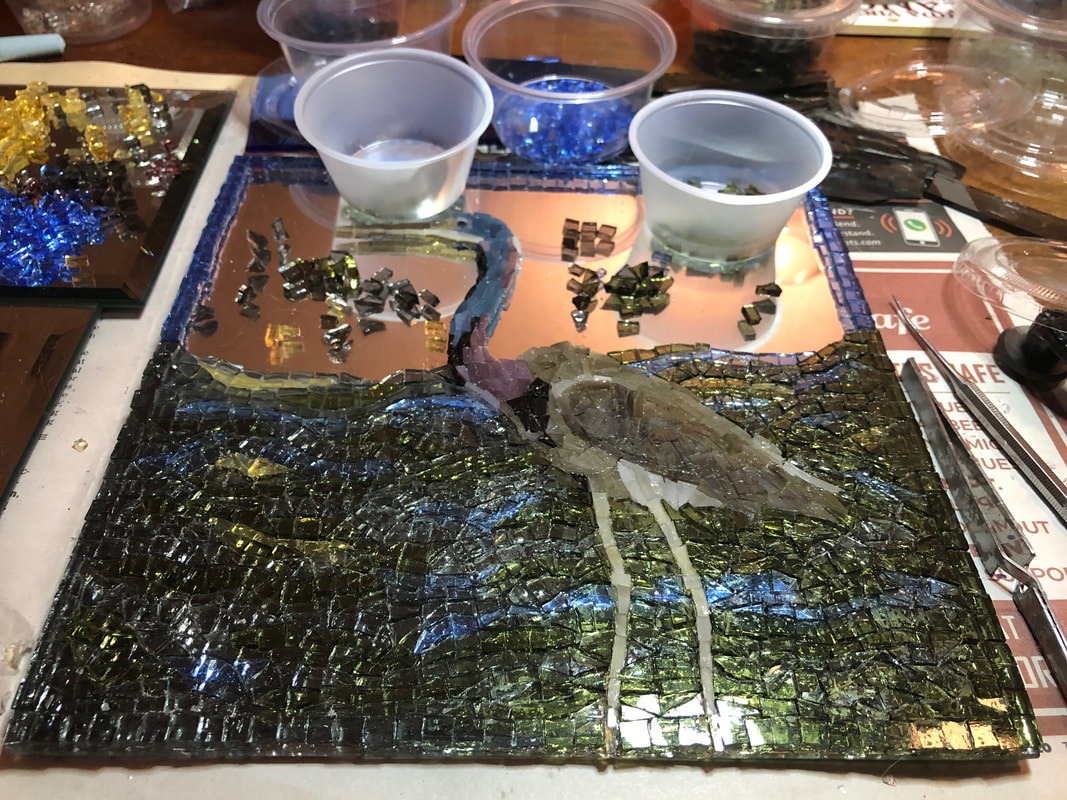 Heron mosaic in progress. I spent close to three hours cutting glass yesterday afternoon. I'm hoping that will be enough to get through at least half of what's left on this mosaic.
And remember, I am new to making mosaics. I haven't taken any classes because of Covid. I've only met with my local mosaics guild twice this year. I have read a book or two on making mosaics and stared at a lot of Roman mosaics over the years. I am no authority; this is only my journey into the art of making a mosaic. And one last thing: be careful using your feet to pick up little glass tesserae which you've dropped on the floor. Although I have often gotten away with this because the tesserae are so small, I did prick my big toe last night and ended up with blood on my carpet. Eek! I mean, you do of course need to be cautious because this is glass and keep your work area cleaned up.
0 Comments
Your comment will be posted after it is approved.
Leave a Reply. |
AuthorRamblings of a retired Latin teacher, creative creature, and general person rediscovering life after teaching. Archives
August 2023
Categories |
 RSS Feed
